{image via Martha Stewart}
Fix something that's broken.
You don't want your guest to think that they broke it or worry that you'll think that they broke it. So if something needs fixing, fix it before they arrive.
An example in our house? Our guest bathroom toilet broke. The previous owners had a plastic toilet seat most likely to make it light and more kid friendly. Problem was, with repeated use, it started to crack and eventually broke. So Kevin went to Home Depot and grabbed a new one. He set out for a slow close porcelain seat, but came up with something even better--a slow close porcelain seat that includes a removable magnetic child's seat. My husband sure thinks ahead. One of his many awesome qualities.

{What? You didn't expect to see a picture of a toilet in this post? Glad I could surprise you!}
Tackle something you've been meaning to do for awhile.
Impending company is a great motivator to get a couple of projects done that you've been meaning to accomplish for awhile.
-reorganize your fridge
-buy a houseplant
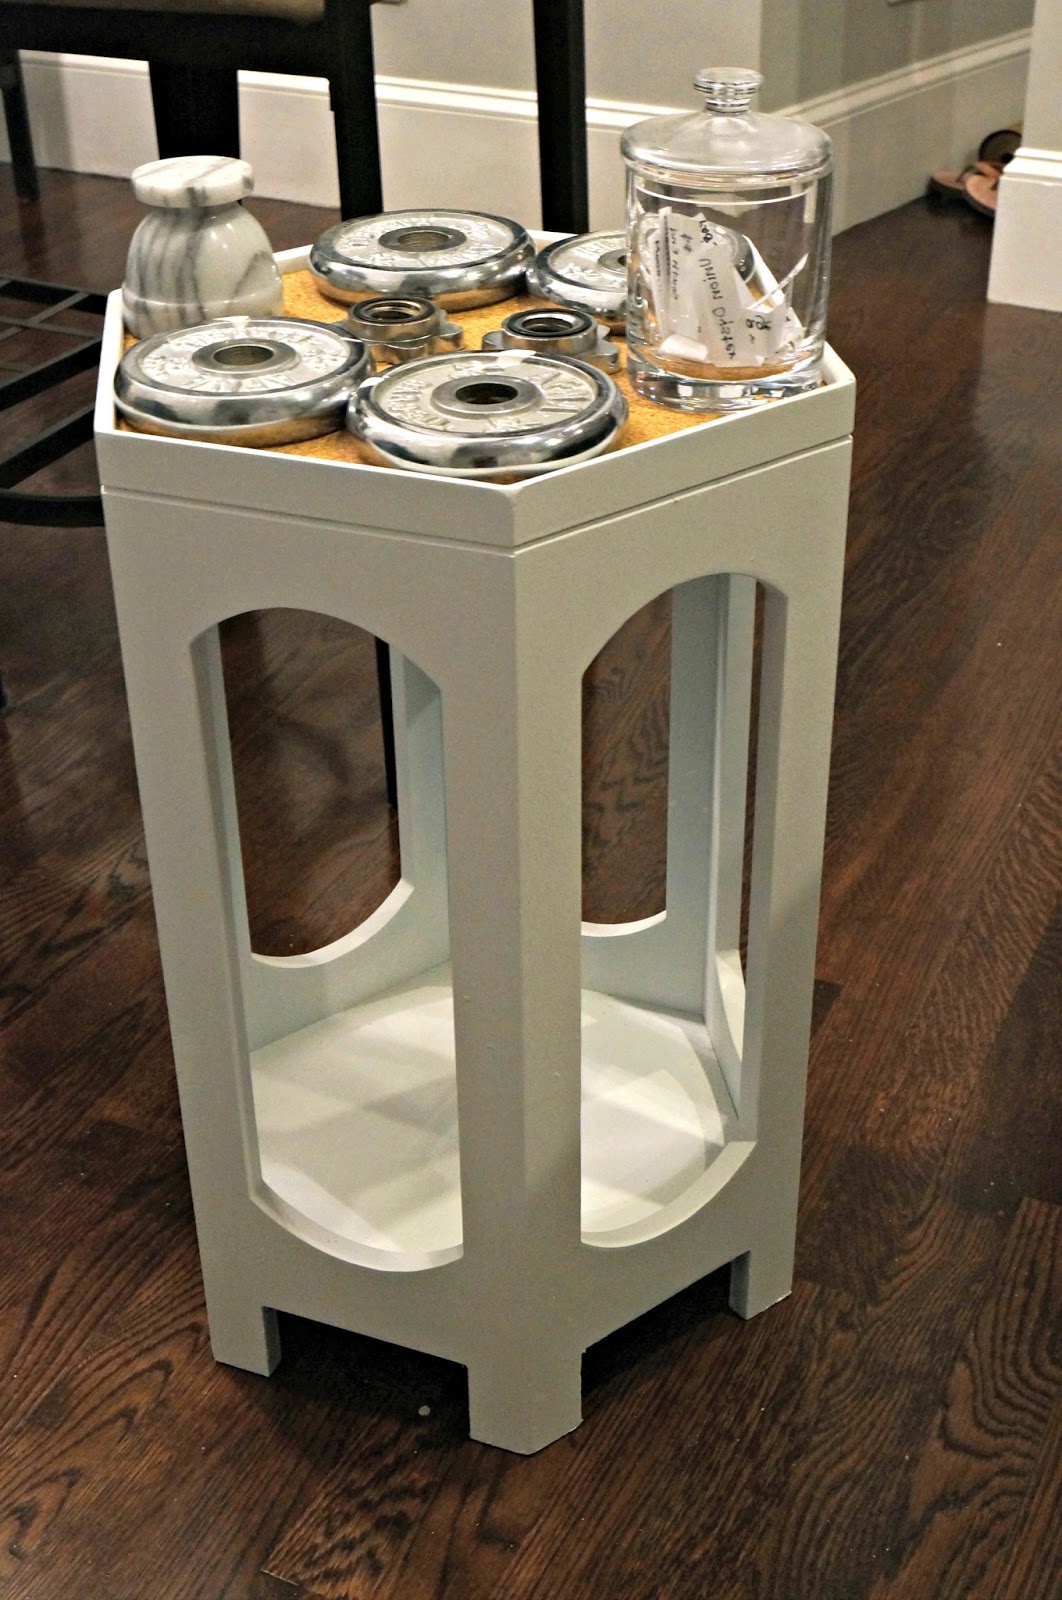
-hang some art

{sneak peek of the art project that's still in process--details next week!}
Make their room visitor friendly.
Put out the correct number of towels. Stock the bathroom with the essentials--shampoo, conditioner, body wash, a new toothbrush. Write a chalkboard message or leave a note letting them know to make themselves at home.
Clean.
This seems obvious, but think outside the lines. Dust the blinds, wipe out the refrigerator, get those nooks and crannies because without fail, you never notice how dirty something is until you have a guest in the house.

Stock up.
Have plenty of toilet paper in every bathroom so that guests never have to ask for more. Be mindful of what your guest likes to eat and place it front and center in the cabinet or fridge. Even better, have snacks and drinks in their room for easy access. And wine. Never run out of wine!
Relax.
Guests will feed off of your vibe. If you're paranoid and anxious, they'll be anxious. Be confident in your preparation, and just relax and enjoy your time with them. After all, they are there to spend time with you, not judge how well-kept your house is.
___________
Today I'm linking up to the Just Because blog hop (link below). Check it out if you're looking for some more reading material for the day! Also, follow me on Instagram to keep up with all of my weekend adventures with the in-laws. We're planning a trip to Martha's Vineyard, the Harpoon Brewery, kayaking, and lots of amazing food! Have a great weekend everyone!